
This articles discusses a simple way to spool a fishing reel. This method can be used anywhere, including your garage workbench or kitchen counter. This is not the only way to spool a reel, but this is a simple and effective way.
“Spooling the reel” means that we’re going to take new fishing line (which comes on a plastic spool) and we’re going to put it onto the reel’s empty spool. Below, I’ll show you exactly how to do this with both baitcasting reels and spinning reels.
Steps to Spool a Fishing Reel
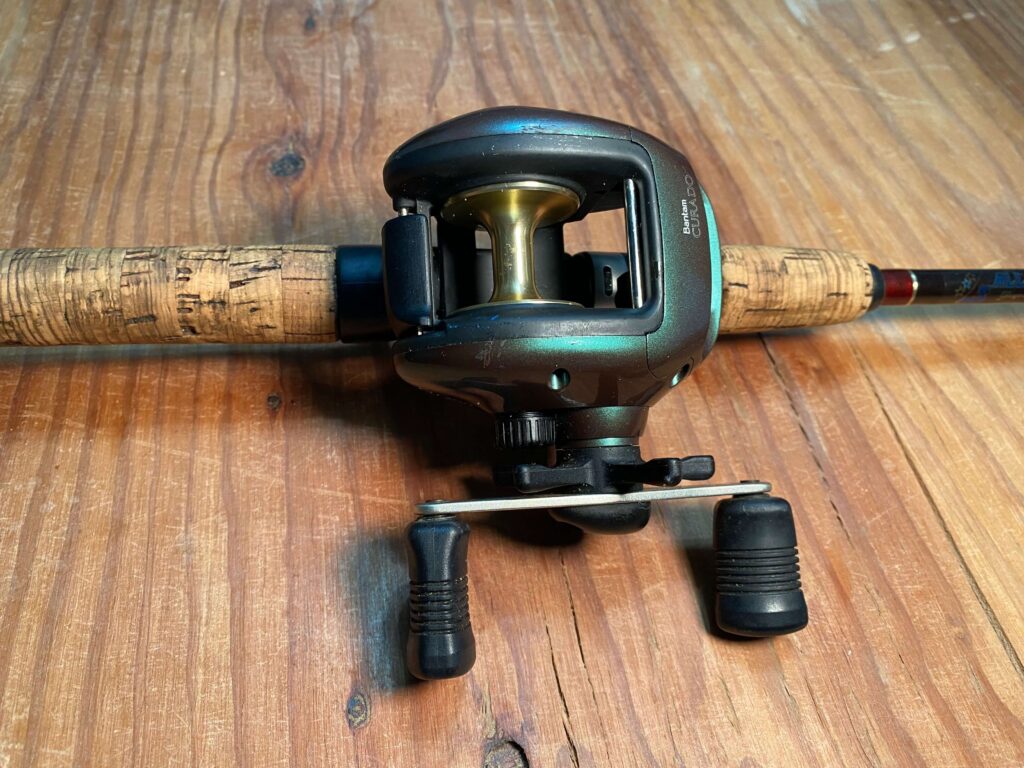
First, attach the reel that you want to spool (spinning reel, baitcasting reel, or conventional reel) to a fishing rod, like this:
Next, get a pencil or a wooden dowel and find a way to support it vertically. I typically use a wooden clamp, but you can use a bench vice, or heavy objects (like textbooks) to hold the pencil upright. Once the pencil is in place, place the plastic spool with new line over it…like this:

You’ll notice in the picture above that the end of the string is hanging off the spool (red arrow); take this loose end and feed it through the rod’s eyes.
You can feed it through all of the rod’s eyes if you want, or you can feed it through the bottom eye only; your preference. Here, I am feeding the new line from the plastic spool (red arrow) through the bottom eye towards the reel (blue arrow).

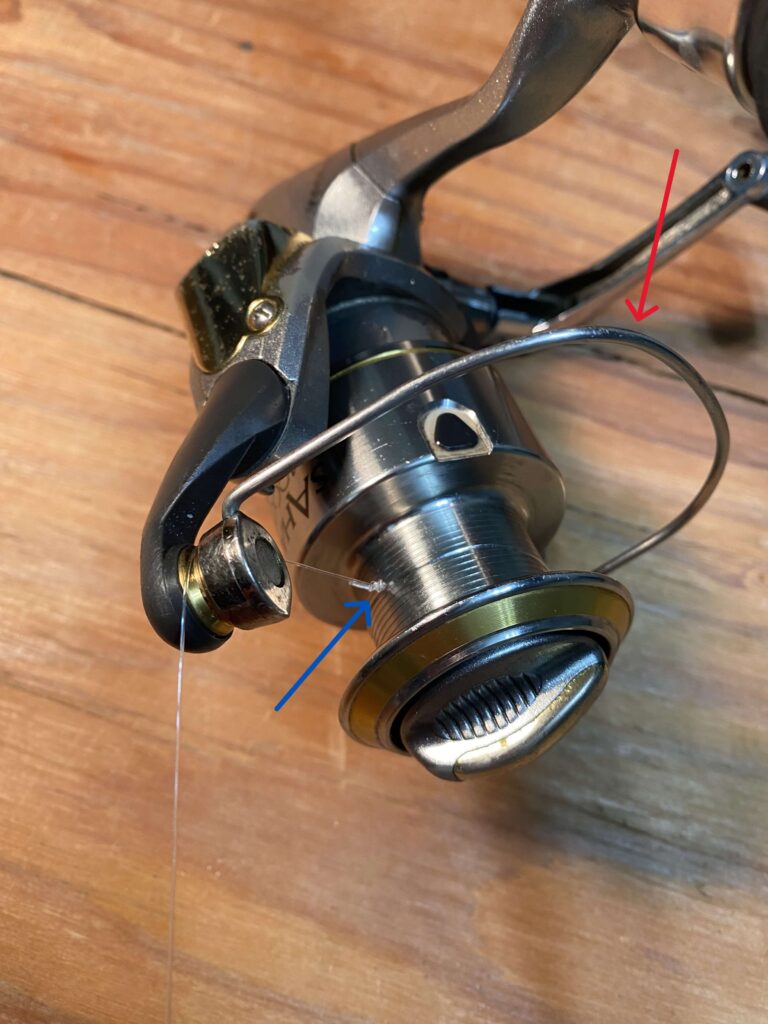
After feeding the line through the rod’s eyes, it will then get tied to the reel spool, but the method is slightly different for spinning reels then it is for baitcasters. On a spinning reel, open the bail (red arrow), and then tie the line to the spool with a Uni Knot (blue arrow):

Here is the completed Uni Knot on a spinning reel (blue arrow). After tying, you can close the bail (red arrow), which will engage the line with the bail’s roller.
On a baitcaster, feed the line through the levelwind (red arrow) and then tie it to the spool with a Uni Knot (blue arrow).

Here’s the completed Uni Knot on the baitcaster:

Once the line is tied to your reel spool, you are almost ready to start reeling. It is important to keep tension on your line during this process, so I recommend gently pinching the line between the reel and the first rod eye to keep the tension:

Now, start reeling but go slow. You will want to check and make sure that the plastic line spool is turning smoothly around the pencil, and that the line is not stuck under the spool or around the pencil. If this happens, correct this immediately, but this is unlikely if you proceed slowly and are keeping proper tension throughout this process.
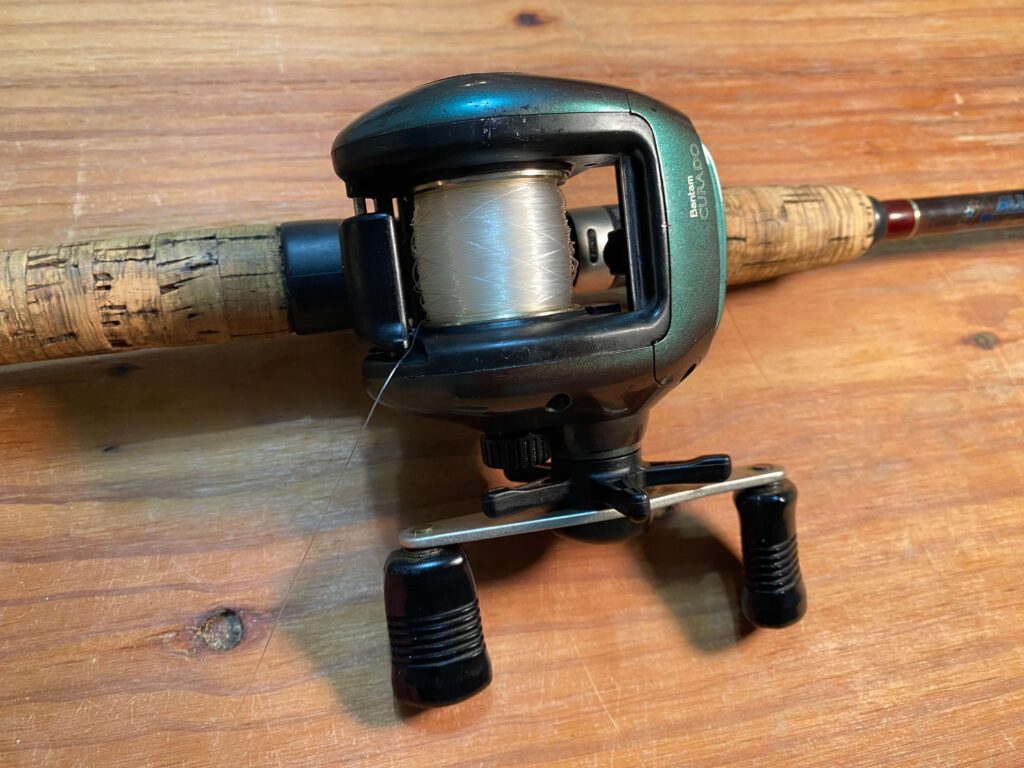
Start turning the reel handle at watch the line slowly build up onto the reel spool. Spinning reels and baitcasting reels should keep the line level on the reel’s spool, so you will not have to do anything but keep tension on the incoming line as discussed above. If you are spooling a conventional reel without a levelwind, you will need to guide the line onto the spool evenly with your fingers. Here we have begun spooling a baitcaster and are about halfway done:

And finally, we are finished:
When you are finished filling the reel spool, simply cut the line. Now the fresh line can be attached to any leader or lure that you want to fish with. You can fish with great confidence now that you reel is loaded with fresh line!
You do not want to fill the reel’s spool all the way to the top edge of the spool wall; if you do this, you are likely to get backlashes/tangles when you cast, or it’s possible that the line will ride over the edge of the spool and get stuck inside the reel. It is best to keep just a bit of clearance left on the left and right wall of the reel spool; when you get to that point, stop filling the reel. In the picture above, there is somewhere between 1/8″ and 1/16″ clearance left on each side of the spool.
If you plan to “re-spool” a reel that has been used previously, you do not always have to remove all of the old line. While the line may look old or worn out, the line that is deep in the spool rarely sees the light of day and will typically be in good shape. If you are frugal like me, you can leave some of this existing line on the spool and simply tie to new line directly to it using a double Uni Knot or other knot of your choice. I typically leave somewhere between one quarter and one half of the old line one the spool; just make sure that this knot is buried deep enough that it doesn’t fly through the rod’s eyes during a typical cast because this will hamper your casting distance.
If spooling a reel with braid, there is one major item that I wanted to mention. Braid is slippery and will slip on an aluminum spool, whereas mono is stretchy/grippy and does not slip as easily. When spooling with braid, it is a great idea to tie the braid to a short section of mono, and then tie this mono section to you reel spool. This way, the mono grips the spool, but it will not affect the performance of the braid. Here, the braid (red arrow) is tied to the mono (blue arrow) with a double Uni Knot (orange arrow), and the mono gets tied to the spool (yellow arrow).

Good luck with your spooling!
Have a reel good day,
– The Simple Fisherman